

화상편집 테크닉
화상의 밝기나 선명함을 간단히 조정하고 싶다.
Capture NX 2 의「퀵 픽스」내에 정리되어 있는 기능을 사용하여 손쉽게 조정이 가능합니다. 。
|
||||||||
작업 순서
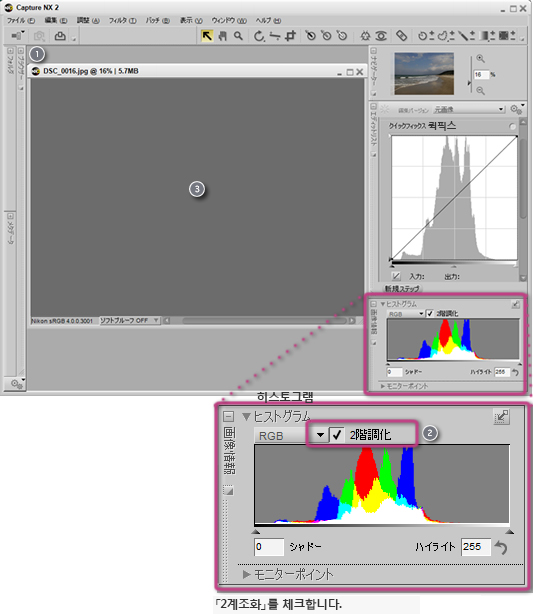
STEP1 : 화상을 열고、「2계조화」를 체크합니다.
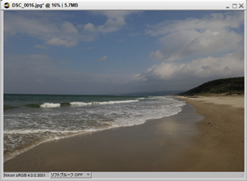
![]() 화상을 오픈합니다. 。
화상을 오픈합니다. 。
![]() 우측하단의「화상정보」윈도우에서「2계조화」에 체크를 합니다.
우측하단의「화상정보」윈도우에서「2계조화」에 체크를 합니다.
![]() 화상 전체가 그레이가 됩니다.
화상 전체가 그레이가 됩니다.
STEP2 : 「톤 커브」에서 밝기를 조정합니다.
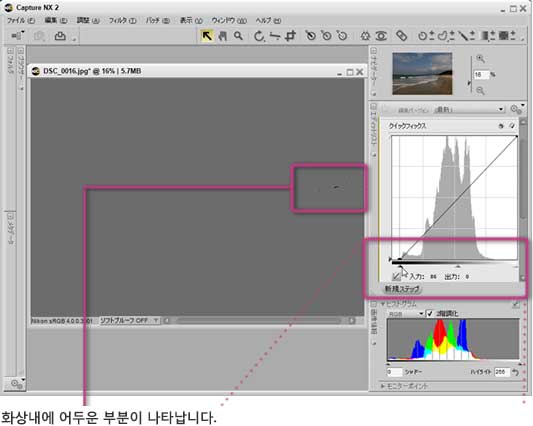
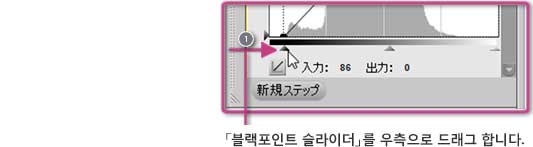
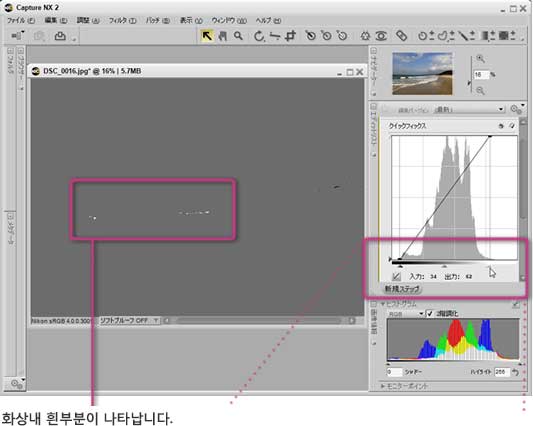
![]() 화상에 어두운 부분이 표시될 때까지、「블랙포인트 슬라이더」를 우측으로 드래그합니다.
화상에 어두운 부분이 표시될 때까지、「블랙포인트 슬라이더」를 우측으로 드래그합니다.
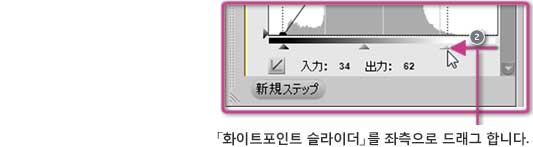
![]() 화상에 흰부분이 표시될 때까지「화이트포인트 슬라이더」을 좌측으로 드래그합니다.
화상에 흰부분이 표시될 때까지「화이트포인트 슬라이더」을 좌측으로 드래그합니다.
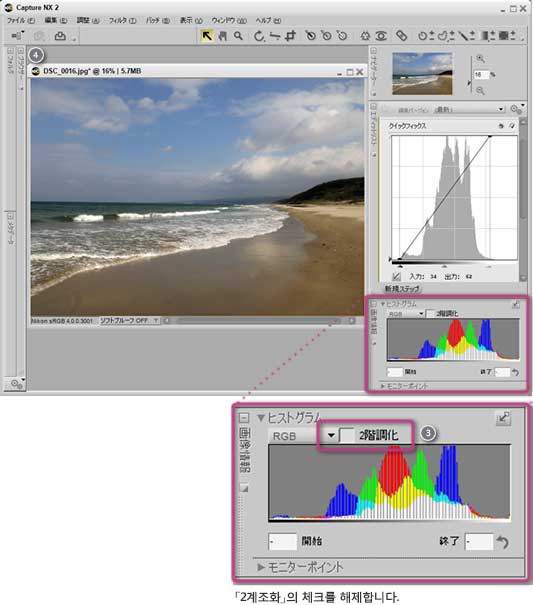
![]() 「2계조화」의 체크를 해제합니다.
「2계조화」의 체크를 해제합니다.
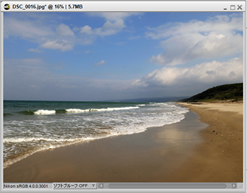
![]() 화상이 밝게 되었습니다.
화상이 밝게 되었습니다.
- ※「2계조화」룰 체크해 있을 때 보이는 하얀 부분이나 검은 부분이 지나치게 커지지 않도록, 히스토그램의 산의 양끝을 끼도록 조절하세요.
STEP3 : 에디트리스트을 스크롤 하여 「채도」를 표시합니다.
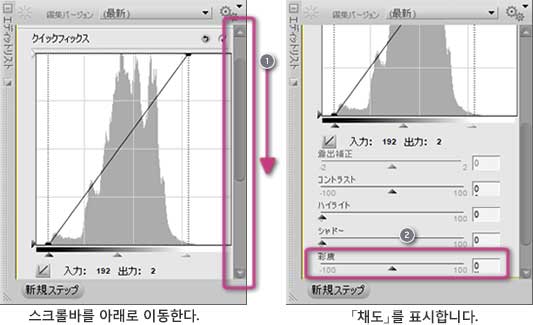
퀵 픽스 전체가 표시되지 않을 때는, 다음과 같이 조정합니다.
![]() 에디트 리스트의 스크롤바를 아래로 이동시킵니다.
에디트 리스트의 스크롤바를 아래로 이동시킵니다.
![]() 「퀵픽스」내에「채도」를 표시합니다.。
「퀵픽스」내에「채도」를 표시합니다.。
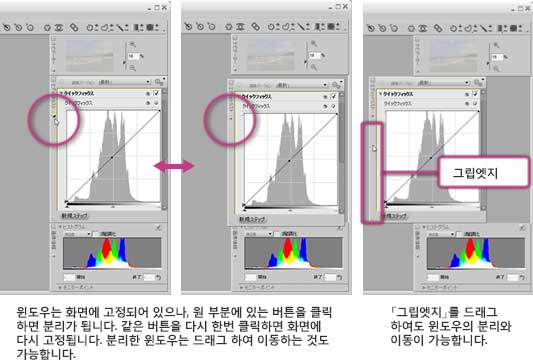
Capture NX 2의 윈도우의 조작
Capture NX 2의 윈도우는 드래그하여 사이즈의 변경이 가능합니다. 더욱이 필요에 따라 다음과 같은 일도 가능합니다.
・윈도우의 분리와 이동
STEP4 : 「채도」로 선명함을 조정합니다
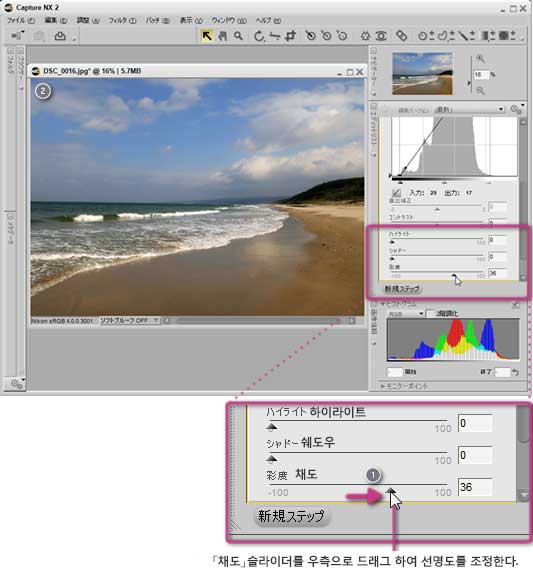
밝기를 조정하고 선명함이 부족 한 때는, 「채도」 슬라이더를 사용합니다.
![]() 「채도」슬라이더를 우측으로 드래그하여 선명함을 조정합니다.
「채도」슬라이더를 우측으로 드래그하여 선명함을 조정합니다.
![]() 화상 전체에서 선명함이 증가되었습니다.
화상 전체에서 선명함이 증가되었습니다.
이상입니다.